Master Budget Camera Setup for YouTube Prank Videos: Expert Guide for Aspiring YouTubers
Are you struggling to create high-quality prank videos on a tight budget? Finding the right budget camera setup for pranks can be challenging.
As a life coach, I’ve helped many aspiring YouTubers navigate these exact challenges. I know how tough it can be to balance budget constraints with camera quality, especially when looking for affordable camera gear for YouTube pranks.
In this article, you’ll discover practical strategies to achieve excellent video quality without breaking the bank. We’ll cover everything from choosing the right budget-friendly vlogging equipment to mastering post-production techniques with editing software for beginner YouTubers.
Let’s dive in and explore the best cheap cameras for prank videos and essential camera gear for starting a prank channel.
Understanding the Challenges YouTubers Face
Balancing budget and quality is a constant struggle. Many aspiring YouTubers need quality gear without overspending, especially when creating a budget camera setup for pranks.
This is especially true for prank videos, where you need specific features in your affordable camera gear for YouTube pranks.
Poor low-light performance can ruin footage. Stabilization issues can make videos look amateurish when using cheap cameras for prank videos.
Good audio quality is essential but often overlooked in budget-friendly vlogging equipment.
In my experience, these challenges are common. Quality equipment is crucial for a professional look in your DIY camera setups for YouTubers.
Yet, budget constraints make this difficult when seeking the best cheap cameras for prank videos.
I’ve seen many clients benefit from careful planning. Investing in the right tools can make a huge difference for your budget camera setup for pranks.
It’s about making smart choices within your budget for portable camera options for prank channels.
Consider your specific needs. Low-light performance, stabilization, and audio quality are key for low-cost lighting for YouTube filming.
Addressing these will greatly improve your videos, even with smartphone accessories for prank videos.
Navigating these challenges is tough, but it’s possible. With the right strategies, you can achieve high-quality results using audio equipment for budget YouTube creators.
Let’s explore the solutions to these problems, including essential camera gear for starting a prank channel.

Key Steps to Achieving High-Quality Prank Videos on a Budget
Overcoming this challenge requires a few key steps. Here are the main areas to focus on to make progress with your budget camera setup for pranks.
- Choose fast, wide-aperture lens for low-light: Fast lenses improve low-light performance, which is crucial for quality footage in affordable camera gear for YouTube pranks.
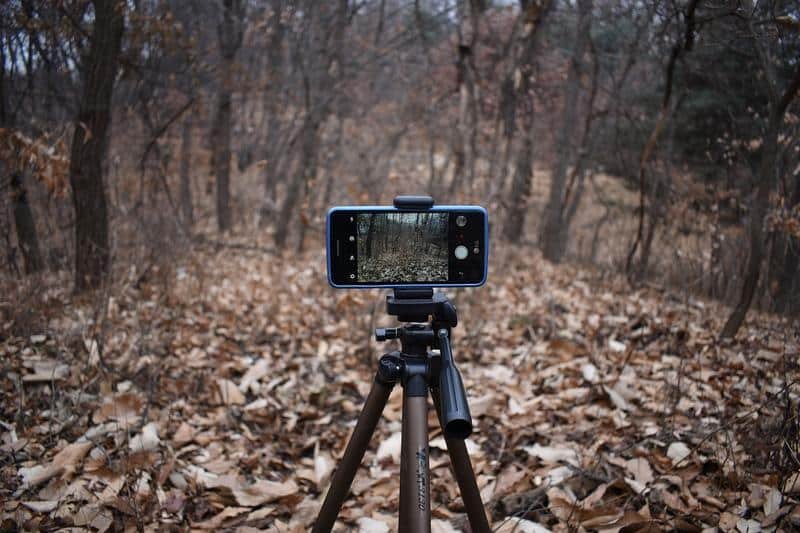
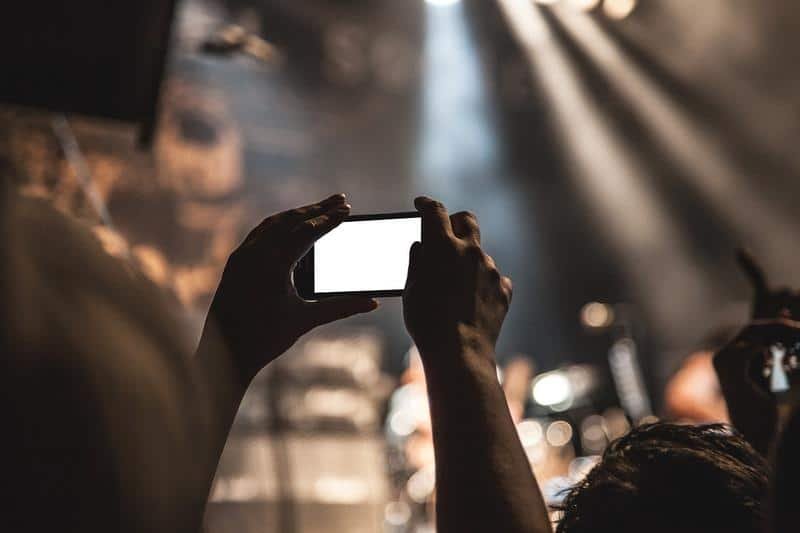
- Consider smartphone with stabilization features: Smartphones with good stabilization help maintain video quality on the go, making them excellent portable camera options for prank channels.
- Invest in quality external microphone: Good audio is a must for professional-looking videos, even with budget-friendly vlogging equipment.
- Use budget-friendly LED lights for better footage: Proper lighting enhances video quality significantly, addressing low-cost lighting for YouTube filming needs.
- Learn post-production techniques for enhancement: Editing skills can elevate the final product, utilizing editing software for beginner YouTubers.
Let’s dive into these essential camera gear tips for starting a prank channel!
1: Choose fast, wide-aperture lens for low-light
To achieve high-quality prank videos, selecting a fast, wide-aperture lens is crucial for low-light conditions, especially when setting up a budget camera setup for pranks.
Actionable Steps:
- Research and compare fast lenses suitable for low-light conditions as part of your affordable camera gear for YouTube pranks.
- Example: Canon EF 50mm f/1.8 STM vs. Sony FE 50mm f/1.8.
- Purchase a second-hand or refurbished lens to save money on your budget camera setup for pranks.
- Tip: Check reliable sources like KEH or B&H Photo for deals on budget-friendly vlogging equipment.
- Test different lenses to find the best fit for your specific filming needs when creating prank videos.
- Action: Borrow or rent lenses before committing to a purchase for your portable camera options for prank channels.
Explanation:
These steps matter because a fast lens enhances low-light performance, crucial for quality footage in your budget camera setup for pranks. By researching and comparing lenses, you ensure the best value for your DIY camera setups for YouTubers.
Purchasing second-hand saves money while testing lenses ensures the best fit for your essential camera gear for starting a prank channel. According to TechRadar, choosing the right lens can dramatically improve your video’s look.
Key benefits of fast, wide-aperture lenses for your budget camera setup for pranks:
- Improved low-light performance
- Shallow depth of field for cinematic look
- Sharper image quality overall
This approach ensures you get the most out of your budget while achieving professional-quality prank videos with affordable camera gear for YouTube pranks.

2: Consider smartphone with stabilization features
Using a smartphone with stabilization features can drastically improve your prank videos’ quality without hefty expenses, making it an excellent option for a budget camera setup for pranks.
Actionable Steps:
- Identify smartphones with excellent stabilization features for filming.
- Example: iPhone 13 Pro or Google Pixel 6, which are great portable camera options for prank channels.
- Use smartphone gimbals to enhance stabilization.
- Action: Research budget-friendly options like DJI Osmo Mobile or Zhiyun Smooth, ideal smartphone accessories for prank videos.
- Explore apps that improve video quality and stabilization.
- Suggestion: Filmic Pro or Adobe Premiere Rush, which are excellent editing software for beginner YouTubers.
Explanation:
These steps are essential because they leverage the advanced stabilization technology in modern smartphones, ensuring smoother, more professional-looking videos. Utilizing gimbals and apps further enhances this quality, making them essential camera gear for starting a prank channel.
According to TechRadar, some YouTubers prefer smartphones for their portability and quality, making them an excellent budget option for affordable camera gear for YouTube pranks.
Incorporating these tools and techniques will help you achieve high-quality prank videos with a budget camera setup for pranks.
3: Invest in quality external microphone
Having a quality external microphone is vital for creating professional-sounding prank videos as part of your budget camera setup for pranks.
Actionable Steps:
- Research affordable external microphones with excellent reviews for your budget-friendly vlogging equipment.
- Example: Rode VideoMicro or Boya BY-MM1, ideal for low-cost lighting for YouTube filming.
- Test different microphones to ensure they meet your needs and are compatible with your setup for affordable camera gear for YouTube pranks.
- Action: Borrow or rent before buying to compare audio quality for your DIY camera setups for YouTubers.
Explanation:
Investing in good audio equipment for budget YouTube creators ensures your videos have clear and professional audio, which is often overlooked. High-quality audio can significantly enhance the viewer’s experience and make your content more engaging, even with portable camera options for prank channels.
According to TechRadar, using the right audio equipment can elevate your videos to a professional level, even with the best cheap cameras for prank videos.
Improving your audio setup will greatly benefit your prank videos and overall channel quality, complementing your budget camera setup for pranks.

4: Use budget-friendly LED lights for better footage
Using budget-friendly LED lights can significantly enhance the quality of your prank videos, especially in low-light conditions. This is a crucial aspect of creating a budget camera setup for pranks.
Actionable Steps:
- Identify and purchase budget-friendly LED lighting options for your affordable camera gear for YouTube pranks.
- Example: Neewer LED lights or Lume Cube, perfect for low-cost lighting for YouTube filming.
- Create a DIY lighting setup using household items as part of your DIY camera setups for YouTubers.
- Idea: Use white sheets or reflectors to diffuse light, enhancing your budget camera setup for pranks.
- Experiment with different lighting angles and intensities.
- Practice: Set up various lighting scenarios to find the best setup for your pranks and improve your budget-friendly vlogging equipment.
Explanation:
These steps are essential because proper lighting can dramatically improve video quality, even on a budget. By identifying affordable LED lights and leveraging DIY solutions, you can achieve professional results with your budget camera setup for pranks.
Experimenting with lighting angles ensures that your videos have the best possible visual appeal. According to UNC’s equipment guides, proper lighting is a key factor in achieving high-quality footage, even with portable camera options for prank channels.
Benefits of good lighting in prank videos:
- Improved video clarity and detail
- Enhanced mood and atmosphere
- Better color accuracy and vibrancy
Incorporating these lighting techniques will elevate your prank videos to a professional standard, making the most of your budget camera setup for pranks.
5: Learn post-production techniques for enhancement
Post-production techniques can significantly enhance the quality of your prank videos, even with a budget camera setup for pranks.
Actionable Steps:
- Take online courses or watch tutorials on video editing for budget-friendly vlogging equipment.
- Recommendation: Platforms like Udemy, Skillshare, or YouTube.
- Use free or affordable editing software to practice your skills with your low-cost lighting for YouTube filming.
- Options: DaVinci Resolve or HitFilm Express, ideal for beginner YouTubers.
- Practice color correction and audio enhancement techniques for your affordable camera gear for YouTube pranks.
- Action: Apply learned techniques to your existing footage and compare results.
Explanation:
These steps matter because mastering post-production significantly improves video quality, even on a budget camera setup for pranks. Online courses offer structured learning, while affordable software provides practical tools for portable camera options for prank channels.
Practicing color correction and audio enhancement further refines your videos. According to PCE, digital technology has made high-quality video production more accessible, even with DIY camera setups for YouTubers.
Essential post-production skills for prank videos using budget camera setups:
- Color grading for consistent look
- Audio cleaning and enhancement for audio equipment for budget YouTube creators
- Seamless transitions and cuts
Incorporating these post-production techniques will elevate your prank videos to a professional standard, even when using the best cheap cameras for prank videos.

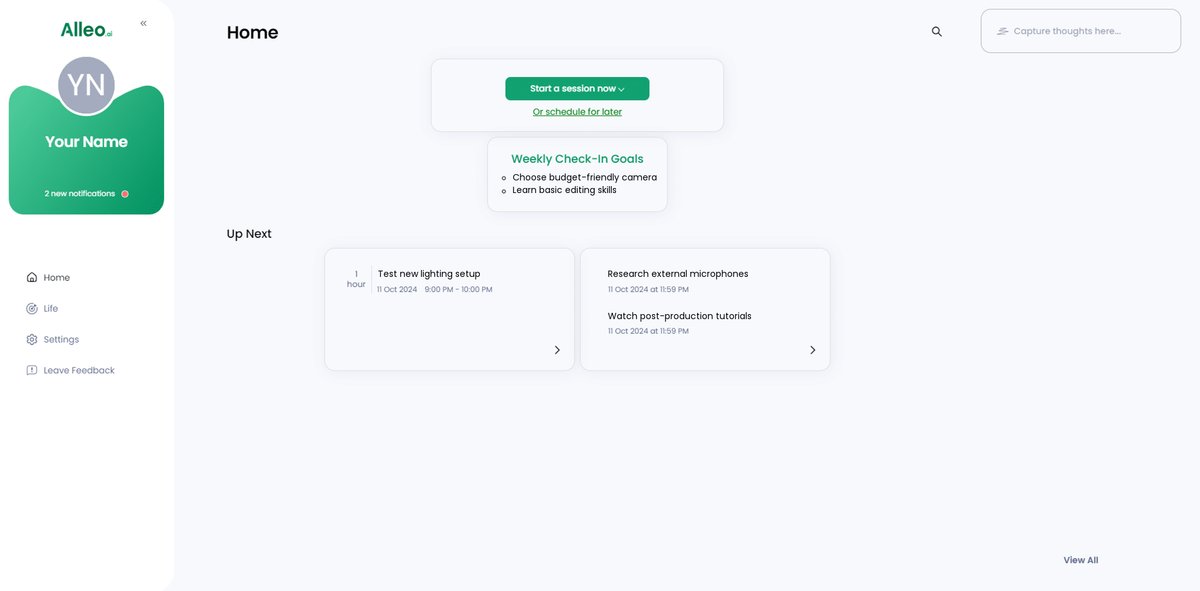
Partner with Alleo for Your YouTube Success
We’ve explored the challenges of creating high-quality prank videos on a budget. Did you know you can work with Alleo to make this journey easier and faster, especially when it comes to setting up a budget camera setup for pranks?
To start, set up your account with Alleo. Create a personalized plan to address your specific needs, including advice on affordable camera gear for YouTube pranks.
Alleo’s AI coach provides tailored support, just like a human coach. You’ll receive full coaching sessions and a free 14-day trial, no credit card required. Learn about budget-friendly vlogging equipment and essential camera gear for starting a prank channel.
The AI coach will follow up on your progress. It handles changes and keeps you accountable via text and push notifications, helping you optimize your low-cost lighting for YouTube filming and audio equipment for budget YouTube creators.
This ensures you stay on track and achieve your goals, whether it’s mastering portable camera options for prank channels or finding the best cheap cameras for prank videos.
Ready to get started for free? Let me show you how to create your budget camera setup for pranks!
Step 1: Log In or Create Your Account
To start improving your prank videos with AI coaching, log in to your existing Alleo account or create a new one if you’re a first-time user.

Step 2: Choose “Building better habits and routines”
Click on “Building better habits and routines” to establish a consistent workflow for creating high-quality prank videos, helping you overcome budget constraints and improve your content production efficiently.

Step 3: Select “Career” as Your Focus Area
Choose “Career” as your focus area to improve your YouTube channel and prank video quality, aligning with your goal of creating professional content on a budget. This selection will provide tailored guidance on equipment choices, filming techniques, and post-production skills essential for advancing your YouTube career.

Step 4: Starting a coaching session
Begin your journey with Alleo by scheduling an intake session to create a personalized plan for improving your prank video quality, just as you would set up lighting for the perfect shot.

Step 5: Viewing and Managing Goals After the Session
After your coaching session on improving your prank videos, check the Alleo app’s home page to view and manage the goals you discussed, helping you stay on track with enhancing your YouTube content quality.
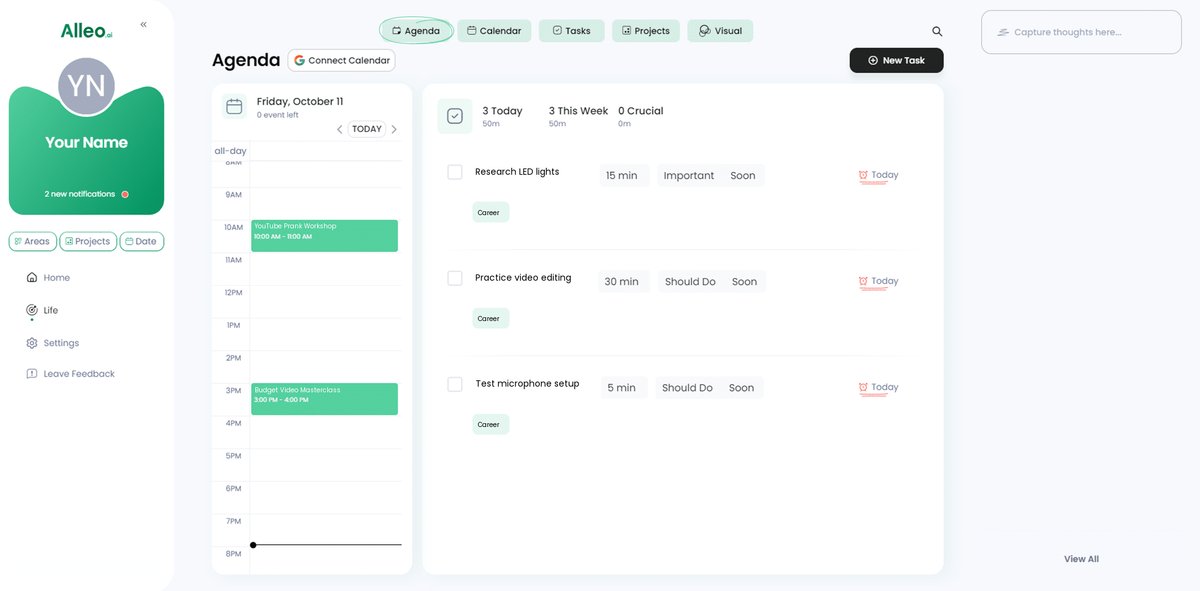
6: Add Events to Your Calendar or App
Use the calendar and task features in the Alleo app to track your progress in improving your prank video quality, scheduling equipment purchases, and setting reminders for practice sessions or filming dates.
Wrapping Up Your Journey to Quality Prank Videos
You’ve now explored various ways to enhance your prank videos on a budget. Balancing quality with cost is challenging, but it’s achievable with the right budget camera setup for pranks.
Remember, choosing the right equipment is crucial. Focus on fast lenses, smartphones with stabilization, quality microphones, budget-friendly lights for YouTube filming, and post-production skills using editing software for beginner YouTubers.
I know these steps can seem overwhelming. But each one brings you closer to professional-looking content using affordable camera gear for YouTube pranks.
Don’t forget, Alleo is here to support you every step of the way. Our tools and resources can make this journey smoother, helping you create the best cheap cameras for prank videos setup.
Start your free trial today. Make your dream of high-quality prank videos a reality with our budget camera setup for pranks guidance.